Shaker Card
by Beate Johns
This is a fun and easy way to shake things up a little. 
Supplies
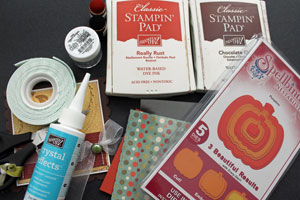
- Cardstock, for frame
- Acetate Window sheet or other acetate such as overhead transparencies, a little bit (1/8") smaller then your frame
- Die Cut Templates, Spellbinders Pumpkin Nestabilities™
- Patterned Paper, or light colored cardstock for back of shaker
- Glitter, sand or small beads for shaker mix (Chunky Crystal used here)
- Mounting Tape
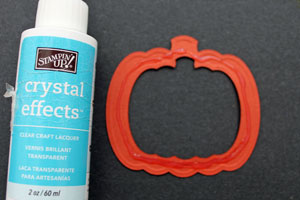
- Strong Adhesive, Crystal Effects™ used here
- Ink and Sponges, optional
- Scissors
Step-by-Step
-
Step 1
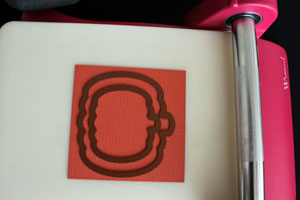
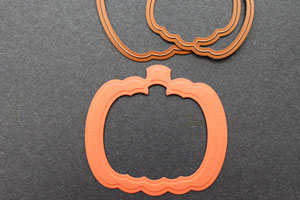
Use die templates to cut a frame out of cardstock.
-
Hint:
You can also use punches or a paper cutter to create a frame.
-
Step 2
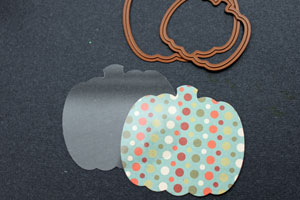
Use the larger die to cut the acetate and patterned paper to the same size as the frame.
-
Step 3 (Optional)
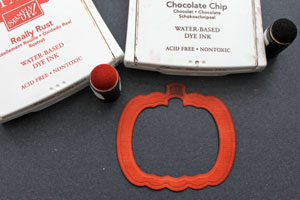
Sponge or stamp the frame if needed.
-
Step 4
Apply strong adhesive to the back of the frame.
-
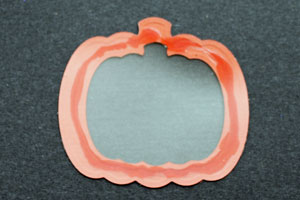
Place acetate over your frame. Let dry.
-
Step 5
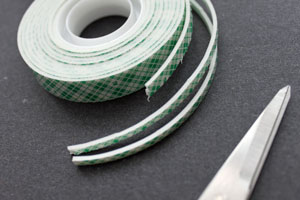
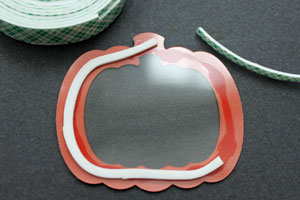
Cut the mounting tape into thin strips.
-
Step 6
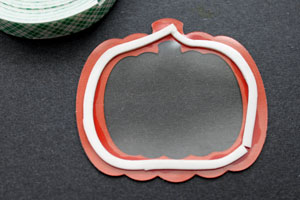
Create a frame with the mounting tape strips.
-
Make sure you leave no gaps between the strips where your shaker card "filling" might escape through.
Hint:
The mounting tape is flexible and easy to form into shape if you take the paper backing off before adhering it to your frame.
-
Step 7
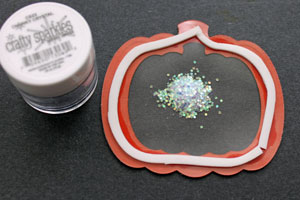
Add glitter or other filling carefully to the shaker card frame.
Hint:
If you need a higher frame for your filling because of the filling thickness, add another layer of mounting tape over this one.
-
Step 8
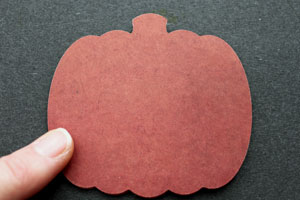
Line patterned paper up face down over your frame. Press down.
-
Step 9
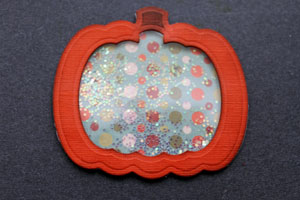
Your shaker is done.
-
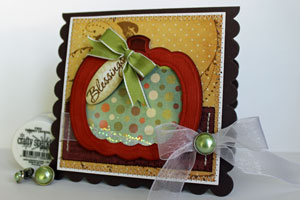
Finish your card.
Read more: http://www.splitcoaststampers.com/resources/tutorials/shaker_card/#ixzz3JSEkXBZQ
Video, by Beate Johns

No comments:
Post a Comment