Wednesday, May 27, 2015

Chalkboard Marker Magic - by Melissa Banbury


Chalkboard Marker Magic

by Melissa Banbury
Create a color pop on black cardstock using alcohol markers.

Supplies

  • Black cardstock

  • Solid image stamp (Stampin' Up! World of Dreams set used here

  • Embossing ink (Versamark used here)

  • White embossing powder

  • Heat gun

  • Alcohol markers (Stampin’ Up! Blendabilities used here)

  • Other supplies as needed to complete the card (die cuts used here)

Step-by-Step

  1. Step 1

    Cut a piece of black cardstock to the desired size of the project.
  2. Step 2

    Stamp a solid image onto the cardstock using embossing ink.
  3. Step 3

    Cover the image with white embossing powder and set with a heat gun.
  4. Step 4

    Color the embossed image using alcohol markers. In most cases work with the lightest color first, then choose progressively darker colors to add shade and depth, as when coloring an open image.
  5. Step 5

    Use the colored panel to complete a card.

Video!


Questions and Comments

Coloring on top of embossing powder with an alcohol marker will ruin your marker.
Denatured alcohol, the main component of the marker is the ingredient used to remove heat-activated powder.

Ariane  |  Wed May 27, 2015 at 3:51 AM 


Thanks Ariane! I did some reading on this, and apparently it's the pigment of colored embossing powders that may react with the alcohol, rather than the plastic. If you're concerned about coloring over the white embossing, try stamping with white craft or pigment ink and then embossing with clear powder. I used white powder and a light touch while coloring and didn't have any issues with my marker tips.
dina  |  Wed May 27, 2015 at 7:38 AM 


Read more: http://www.splitcoaststampers.com/resources/tutorials/chalkboardmarkermagic/#ixzz3bN6hAkSU


Tuesday, May 26, 2015

Cards saved to look at closer - by Justin Krieger


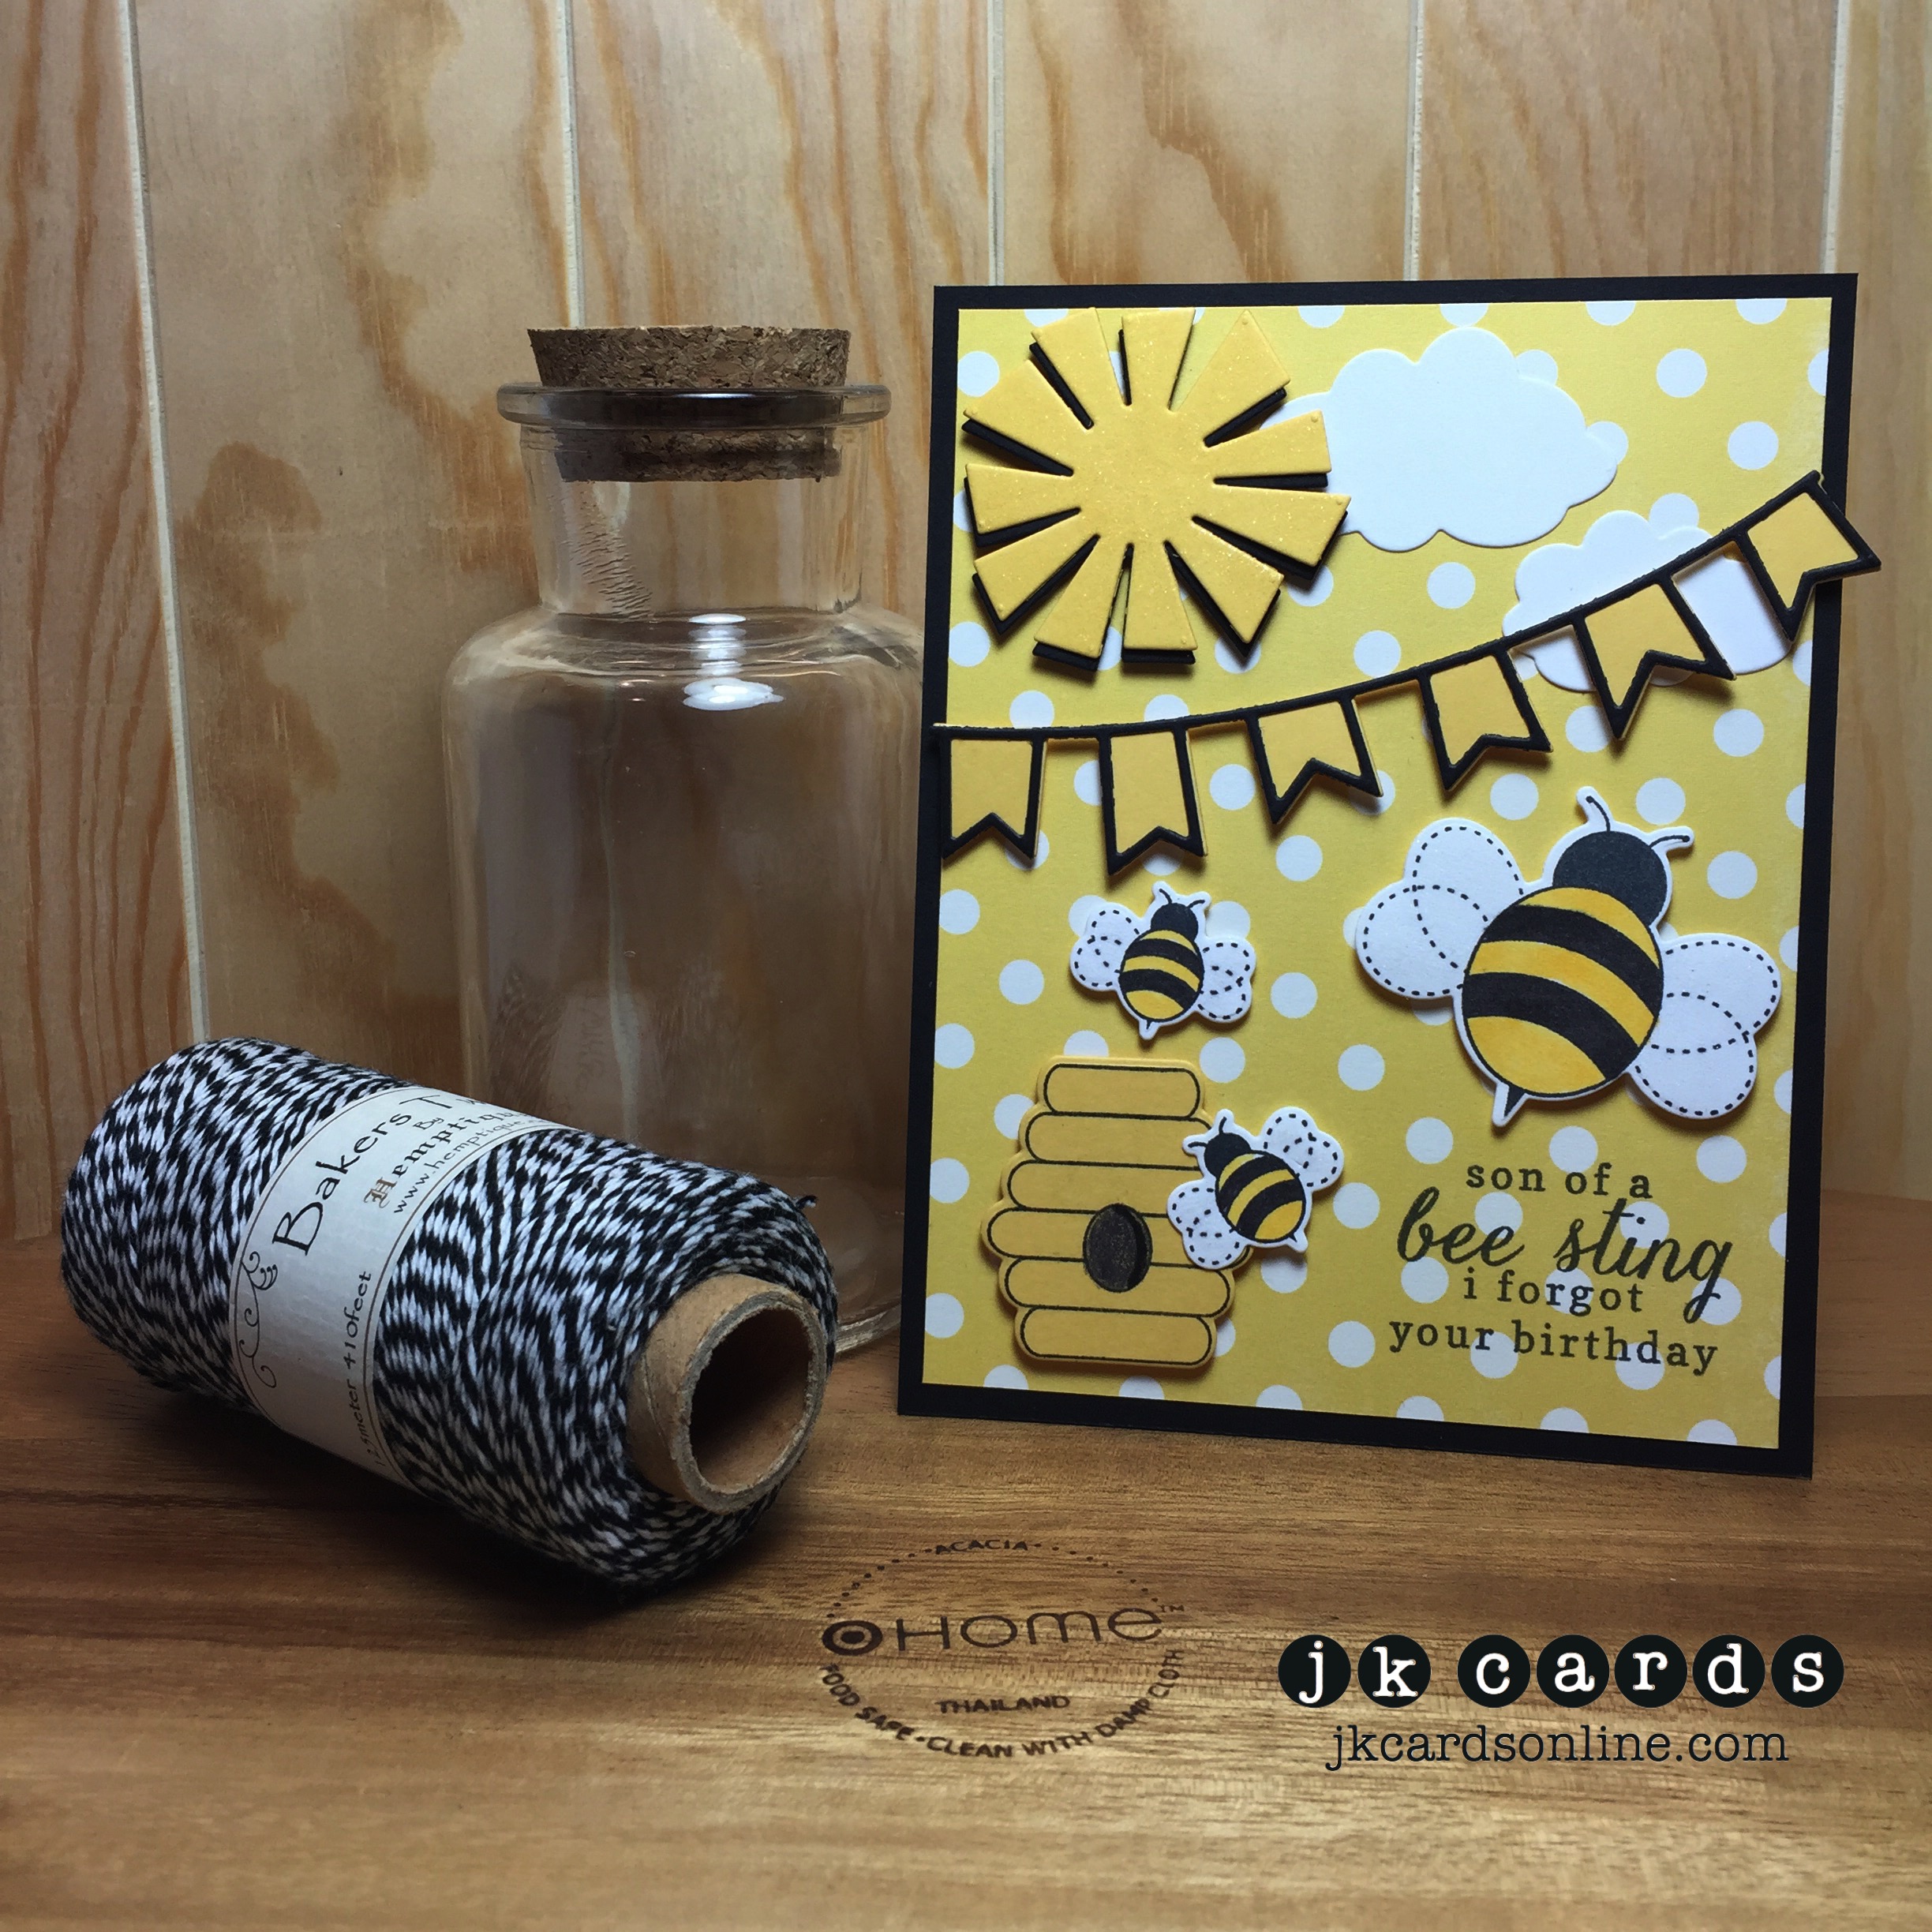
RC Bees-JK-WM

Aren’t they fun?!?! I love the donuts and the cool fragmented background with the sequin paper too!
Today I have a birthday card for you! Have you ever gotten a little obsessed with a stamp set or a particular layout?! I am a little obsessed with a particular stamp set and layout lately and I love to see how many different ways that I can use both! The base of today’s card is Neenah Solar White 110lb. Down the left side is a piece of the Stacked with Love Designer Washi Tape. The panel is a piece of paper from the Something Borrowed Designer Series Paper Pack, it’s adhered to a piece of Fun Foam and then to the card. The wreath is from the Your Perfect Day Photopolymer Stamp Set and is stamped in Old Olive and cut out with another one of the fantastic dies from DiesByDave! How happy was I when I saw this one?! I punched out some flowers with the Itty Bitty Accents Punch pack from Blackberry Bliss and adhered them to the wreath with Bling Glue Dots. A few pearls are adhered to the centers with Crystal Effects. I cut out some Basic Black and Neenah Solar White 80lb with the Simon Says Stamp Wishing Die. They are adhered together and then to card. My greeting is from the Simon Says Stamp Sending and Wishing Photopolymer Stamp Set, I heat embossed it on Basic Black with White Stampin’ Emboss Powder and adhered it to the card with Foam Tape. Three sequins adhered to the card with more Crystal Effects compete the card! I really am obsessed with the Your Perfect Day Set and the layout, but I have used it for quite a few different style cards! I really hope that you enjoy today’s card and the cards from the Reverse Confetti class at Scrap-A-Latte! Thank you so much for coming by today! Have an super Saturday my friends!

:-)
Perfect Borrowed Birthday-WM

Products used:
Stamp Sets: Your Perfect Day Photopolymer (Stampin’ Up!) and Sending and Wishing Photopolymer (Simon Says Stamp)
Ink: Old Olive Classic Stampin’ Ink (Stampin’ Up!)
Specialty Ink: Versa-Mark
Embossing Powder: White (Stampin’ Up!)
Card Stock: Solar White 110lb and 80lb (Neenah) and Basic Black and Blackberry Bliss (Stampin’ Up!)
Designer Series Paper: Something Borrowed (Stampin’ Up!)
Dies: Wreath (DiesByDave, Etsy) and Wishing (Simon Says Stamp)
Punch: Itty Bitty Accents Pack
Embellishments: Stacked With Love Designer Washi Tape (Stampin’ Up!), Pearls (Brasil) and Black and Sand Sequins (Pretty Pink Posh)
Adhesives: Bling Glue Dots (Thermo-Web), Crystal Effects, SNAIL and 3M Foam Tape
Tools: Big Shot, Heat Tool and Fun Foam


Justin Krieger's Blog

Star Shaped Treat Box - By Julie Gearinger


Sweet Treats- Sheltering Tree Flag Box :-)

Hi Stampers!   

It’s time for the new SUO123 “Sweet Treats” Challenge and I decided to use the Sheltering Tree set along with the new Gift Bag Punch Board to create a patriotic star box in honor of Memorial Day. 
I hope you will find the time to check out all the rest of ourDesign Team ideas and create your own “Sweet Treats” project using Stampin’ Up! Only products !!

To create this “Sweet Treat” holder:
Use the Big Shot™ with the Star Collection Framelits™ to cut two large stars from Cherry Cobbler cardstock.  Use the next size down to cut two stars from Night of Navy cardstock and the next size down for two from Whisper White cardstock.
Create a mask from scrap paper for the “star” portion of the flag and mask the Whisper White star shape. 
Ink the background shape from Sheltering Tree with Cherry Cobbler ink (the one that is normally used behind the sentiments) and stamp on the star image for the stripes of the flag- you will need to re-ink as you stamp.
Once you are finished with the stripes, remove the mask for the star area of the flag, mask the stripes and ink the foliage stamp from Sheltering Tree using Night of Navy Classic Ink and stamp into the “star” area of the flag.
Repeat the above steps for the second white star.
Side view of Gift Bag center and banners :-)
Use the Gift Bag Punch Board to create the smallest size gift bag from Cherry Cobbler cardstock (the bag only needs to be 2” high so I used a 10 ½” x 2” piece of cardstock).  Note- the Gift Bag Punch Board called for a 10” piece for the smallest bag but for some reason, I did not have a flap on the last gusset to adhere so I found that a 10 ½” piece works better for the small bag).
Layer the star shapes together and adhere the small gift bag in the middle (raising the bag up so you cannot see it between the points of the star).
Stamp the Gorgeous Grunge diagonal line stamp with Cherry Cobbler Classic Ink and the Sheltering Tree foliage with Night of Navy Classic Ink onto Whisper White cardstock and punch out with the Banner Punch. 
Punch a few banners from Night of Navy cardstock and adhere the banners to a piece of Natural Linen Thread or Baker’s Twine alternating between the Night og Navy and stamped banners (Note- you will not see the material since the banners will cover it up completely- I used retired Hemp Twine since I had it on hand).
Mount the banner line to the center sides of the box (I used Tombow Adhesive for this step).
Stamp the sentiment using Night of Navy Classic Ink onto Whisper White cardstock, trim and create the banner points with the Banner Punch.
Mount the sentiment using Stampin’ Dimensionals® to finish off the card.
Stamp Sets:  Sheltering Tree, Gorgeous Grunge
Ink: Cherry Cobbler, Night of Navy
Paper/Cardstock: Whisper White, Cherry Cobbler, Night of Navy
Accessories: Big Shot™, Star Collection Framelits™, Banner Punch, Gift Bag Punch Board, retired Hemp Twine
Thanks again for stopping by – I had fun using Sheltering Tree in a different way to create this little treat box and now I just have to find some treats to fill it up!! 


Mini Treat Bag - By Mary Brown


SUO123

It’s time for another SUO challenge and this time our theme is Sweet Treats.  As soon as I saw this challenge I thought of the Mini Treat Bag from the Occasions Mini – it’s such a great size…not too big but not too small and with all the ‘extras’ in there, you really have it made!
All the ‘cut out’ pieces came with the mini treat bag thinlits…how could you NOT have this?  Seriously…it’s in there!  And I decided to use one of my favorite color combos of Night, Coral, White!

Here’s the details –
  • Cut out the ‘bag’ portion using Whisper White.  Run the pieces through the Lucky Stars Embossing folder then put the bag together.
  • Using the star that comes in the set, cut out one each of Night of Navy, Calypso Coral, Silver Glimmer.  Add the Navy and Coral ones to the bag.
  • Cut out the Whisper White banner (again…one of the pieces in the set) and the enjoy (still another piece) from Night of Navy.  Add the enjoy to the white banner.
  • Take a 1″ strip of the Calypso Coral print in the Birthday Bash dsp.  Use the same framelit as the White Banner and cut the dsp.  Cut piece in half, layer behind the white banner then add using dimensionals.
  • Add Silver star next.
  • Tie White Bakers Twine into a Calypso Coral large button and add to bag to finish off.
Don’t forget to check out what the rest of the design team to see which one they picked!
Set(s): NONE
Paper: Whisper White, Night of Navy, Calypso Coral, Birthday Bashed dsp, Silver Glimmer
Ink: NONE
Other: Mini Treat Bag Thinlit Set, Subtles Buttons, White Baker Twine, Lucky Stars Embossing Folder, Dimensionals

Mary's Blog


Beautiful Bunch Favor - by Connie Babbert


Beautiful Bunch Favor

Another fun SUO Challenge this time is to make a Sweet Treat!  I decided to show the sweet treat favor I made for my Hawaii incentive trip 3D swap!  These are filled with Mambo taffy candy.  I made 28 of them for the swap and a couple friends…here they are ready to be packed in my suitcase!

SUOC123 Sweet Treat lineup 
 
SUOC123 Beautiful Bunch Sweet Treat 
 
I measured the candy, then added a couple inches to two 2″ strips of Pacific Point cardstock.  I used the Scallop Tag Topper Punch on each end.  I scored the top 3/4″ and 1″ from each end to help it “bend” around the candy.
  • The Beautiful Bunch flower was stamped twice with Pumpkin Pie (Rich Razzleberry or Daffodil Delight) Ink on Whisper White, then punched with the Fun Flower punch.
  • The leaves were the flower stamped with Old Olive Ink on Old Olive cardstock, punched, then cut the petals for leaves.
  • The center Petite Petal image was stamped with Old Olive Ink on Whisper White and punched with the Petite Petals punch, then added to the center.  A Rhinestone jewel was put in the center.
  • I added a 1 3/4″ wide piece of Daffodil Delight to the top, added the flower and leaves.  It’s Your Day from Fabulous Four was stamped with Pacific Point on a strip of Whisper White and cut with a flag end.
Here’s the side view.  The candy was wrapped in the Brights Patterns Designer Paper and adhered to the bottom strip.

SUOC123 Sweet Treat inside

Connie's Blog

Sunday, May 17, 2015

Bokeh Technique Video - by Jennifer


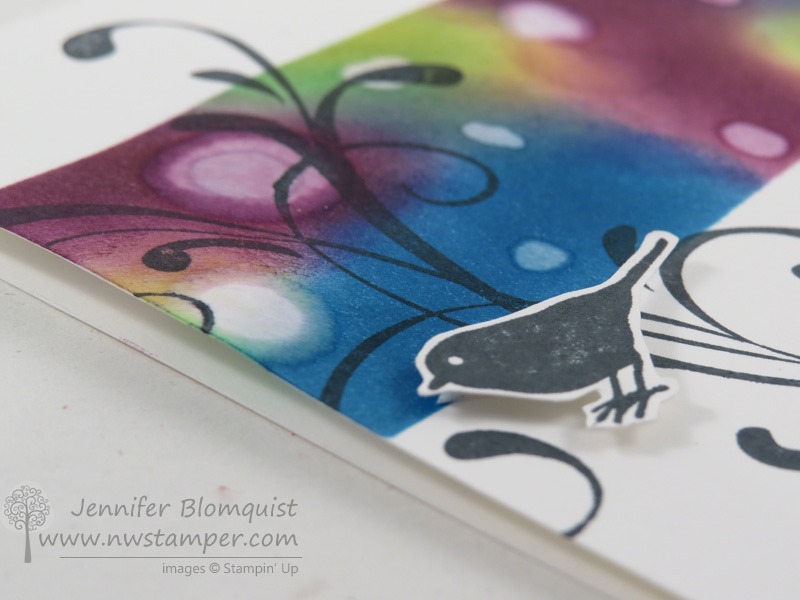
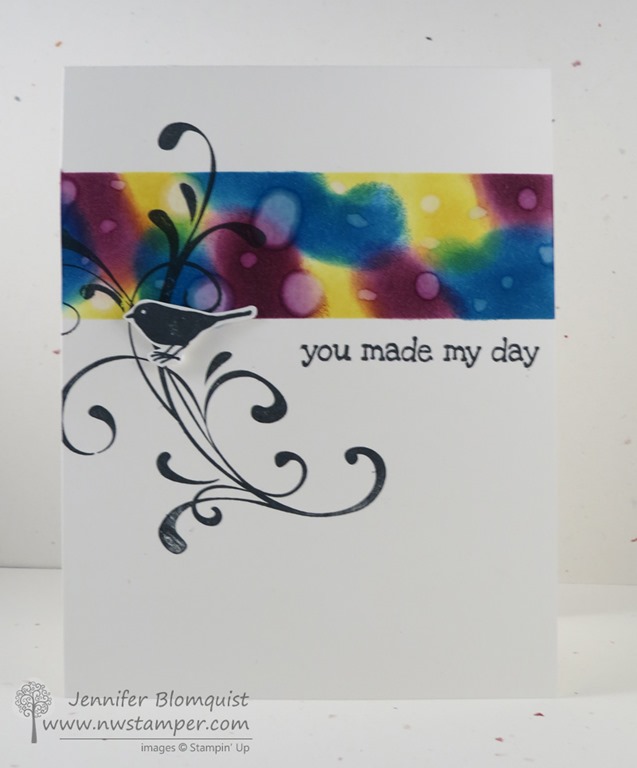
Today I wanted to share with you this cool technique I’m calling Water Drop Bokeh!  Check it out:


See that colored blobby area?  It is just masked and sponged area of the Whisper White cardbase!  So it is easy and perfectly customizable to any project you want!
Tips for making this card:
  • Use your Grid Paper to help make sure you are masking off straight and even lines across your white card base (in this case they are at 1” from the top and 2 1/4” from the top)
  • Sponge Daubers will give you rich color which helps make the technique turn out better because concentration of ink on your paper is key!
  • Swirl on your favorite colors of dye-based ink (all Stampin’ Up Classic Ink pads are dye based) on Whisper White cardstock
  • Use an Aqua Painter to drop bits of water onto your sponged area – from just the tip of the Aqua Painter for small circles to squeezing out full drops for bigger circles

  •  
  • Let it start to air dry and then you can stamp over the top almost immediately to create cool, layered effects.
  • Mix and match your stamp sets, like in this case Everything Eleanor for the bird and swirl, and A Dozen Thoughts for the sentiments
  • Each card you make will be different, but that is what makes it fun!


http://www.nwstamper.com/water-drop-bokeh-technique-card-with-everything-eleanor-video-tutorial/


Friday, May 8, 2015

Tag Gift - by Tracy Tunstad


Posted on Sandy Hancock's Blog... 
http://www.sandystamper.com/


Tracy Tunstad made ten of these beautiful gifts!
CSTracyTunstadfront
Here is a side view so that you can see the hand sanitizer.
CSTracyTunstad
Tracy started with Very Vanilla card stock that was 10 1/2"x 2".
  • Score at 4 3/4" and 5 3/4".
  • Punch each end with the punch of your choice, Scalloped Tag Topper for example.
  • Stamp three flowers from Flower Shop and punch them out. 
  • Inks:  Baked Brown Sugar, Crushed Curry, and  Honey Hello.
  • Then she embossed the c/s with the Arrows Embossing Folder.
  • Stamp Sets: Tag Talk, Flower Shop, and the Thank you came from Painted Petals
  • Accessories:  Label Bracket Punch 1 1/4" Circle, Pansy Punch 

Butterfly Flowers Video - by Maria


http://craftymariasstampingworld.blogspot.ca/2015/05/eggshell-mosaic-card-taken-up-notch.html


Thursday, May 7, 2015

Pinwheel Card - by Dawn Olchefske


http://www.dostampingwithdawn.com


Trust God Bookmark


Simple bookmark with Trust God-so versatile

One of my friends meets with here WOW group (Women of the Word) each week.
They want to come over to make a couple of projects so we came up with a simple bookmark yesterday as one of things that they will make.
Most of the sayings in the Trust God set would fit on this bookmark.
TrustGod
This would be a great idea to make for a women's Bible Study or any woman who loves to read!


Sponge Dauber Using SU Stencils Video - by Sandy Hancock


http://www.sandystamper.com/


Tuesday, May 5, 2015

Bokeh Technique - By the Tide, by Connie Babbert


May 02 2015

CCMC Saturday Blog Hop – By The Tide

Now that the Create with Connie and Mary Card “Create”tions Celebrations session is over, we are back to our regular Design Team Blog Hops!  This month our theme is techniques.  Mary selected Bokeh backgrounds for this week’s technique.  Bokeh means unfocused and is frequently used as a photography term. 

By The Tide

The colors I used leaned towards sea water, so I used By The Tide for my stamp set.  Here are the details:
  • The base is 4-1/4 x 11 Bermuda Bay, folded in half.
  • On the 4 x 5-1/4 layer of Whisper White, the sea fan from By The Tide was stamped with Mossy Meadow ink in the lower right corner.
  • The 3-3/4 x 3-3/4 piece of Whisper White was colored with Island Indigo, Bermuda Bay and Wild Wasabi, then the circle template was used with White Craft Ink on top.
  • The two background fish were stamped with Tuxedo Black Ink on the Bokeh background and it was placed on the front of the base card.
  • Pear Pizzazz 1/8″ Ribbon was wrapped around to the back of the Whisper White and adhered.
  • The foreground fish was stamped with Tuxedo Black Ink on scrap Whisper White, then colored with Soft Suede, Bermuda Bay and Crumb Cake inks, then cut out and placed on the front with Stampin’ Dimensionals.
  • I used a White Gel Pen to add a dot to the eyes.
  • The greeting Best Dad Ever from And Many More was stamped with Tuxedo Black Ink.
Finally, three Bermuda Bay sequins were added to the Bokeh background piece for some extra bling.

http://inkspiredtreasures.com/cards/ccmc-saturday-blog-hop-by-the-tide/ 


Friday, May 1, 2015

Z Fold Card - By Lynn Starzl


Petal Potpourri stamp set


IMG_6628
IMG_6629

IMG_6630

This is a Z Fold card.  See the Z shape?  The talented Deb Valder has a video showing how to do these cards. (below)  This is not a quick and simple card.  It could be with more stamping and less snipping or coloring though.  I used From the Herd stamp set for both cards, except the Petal Potpourri stamp set has the flowers that are punched with the coordinating Flower Medallion punch.  Watch Deb's video below to see how this card is done! 

Background is 5″ x 12″ and make a pencil mark at 2 1/2″, cut on the diagonal from that  mark to the corner at the bottom.  Then with the straight edge on top, score this piece at 4″ and 8″.
White Layer is 4 7/8″ x 12 and make a pencil mark at 2 3/8″. Cut on the diagonal from that  mark to the corner at the bottom.  Then with the straight edge on top, cut at 3 7/8″, 3 7/8″, and 3 7/8″.